Using Tag Manager Custom functions for third party events integrations


Vyankatesh Charakpalli
7 min readNovember 17
Vodafone is a multinational telecommunications company popular in many countries. Recently they decided to expand their business to the Middle East; in the country of Oman. Our team at TunicaLabs stepped in to help them with handling their Martech.
The hurdle we came across
Handling MarTech entailed enabling customer onboarding and tracking customers' events and data. We implemented two platforms Boxever and Firebase to get the best experience. Boxever because it helps segment data according to the behaviors of users and Firebase because it manages all real-time events. But this created a brand new problem for us. Both platforms required coding but we didn't want to do the same thing twice. We found our solution in Google Tag Manager.
How GTM helped
Google Tag Manager supports tags from products such as Firebase which helps to manage events in mobile applications. When we use two platforms like Firebase and Boxever, GTM intercepts the process. So now instead of rebuilding the application, we could rely on GTM to handle it for us. All we need to do is use the Function Call to send events in Boxever using Firebase events as triggers. In simple words, a function call requests the application to provide value for a code.
Steps we followed
For the Function Call to work as it’s supposed to we need to add the appropriate code that will react to the Tag Managers request. Only then will the Tag Manager be able to provide value and take actions accordingly. The action in question for us was sending events in Boxever via GTM. We detailed out below the steps that we followed:
Step 1 - Add Google Tag Manager to your project
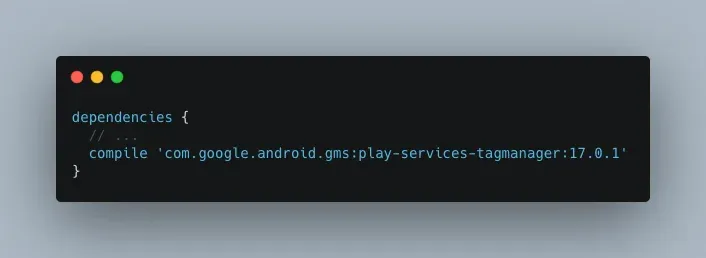
1.In your module Gradle file (usually app/build.gradle), add the following dependency on the Tag Manager library:
2.Sign in to your Google Tag Manager account.
3.Select a mobile container.
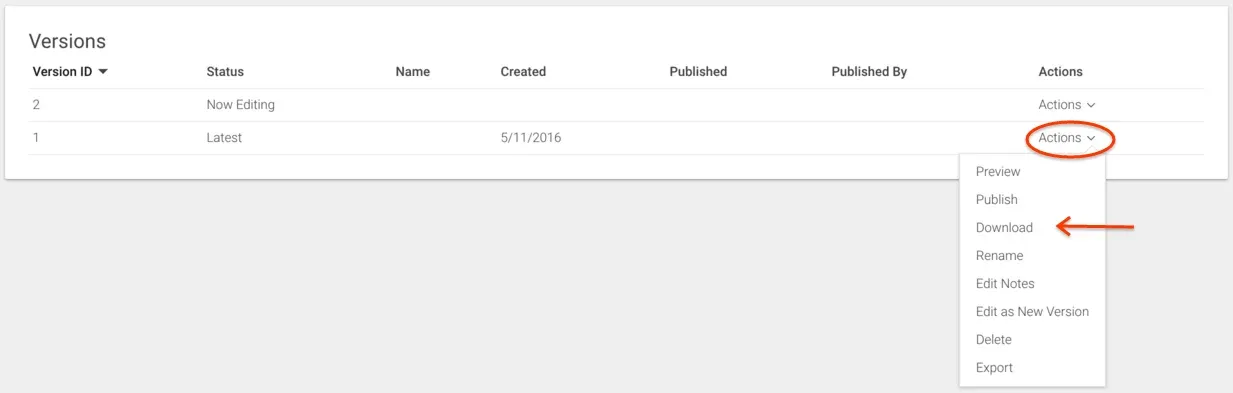
4.Click Versions in the top navigation bar.
5.Click Actions > Download on the selected container version.
6.Create the app/src/main/assets/containers folder if it doesn't exist. Copy the downloaded container to the folder.
Step 2 - Add the Firebase SDK to your app
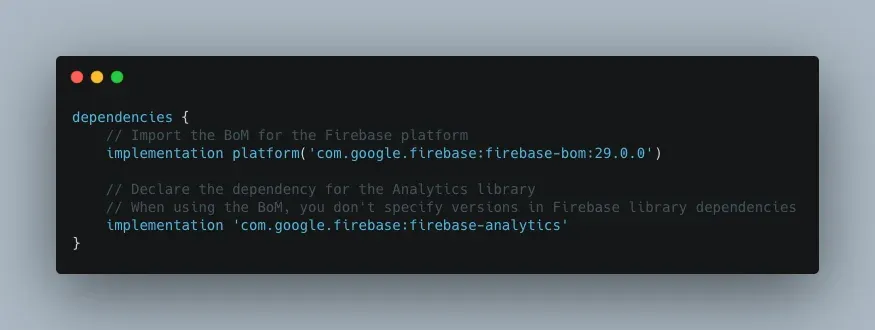
1.Using the Firebase Android BoM, declare the dependency for the Analytics Android library in your module (app-level) Gradle file (usually app/build.gradle).
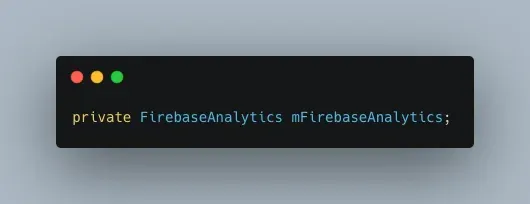
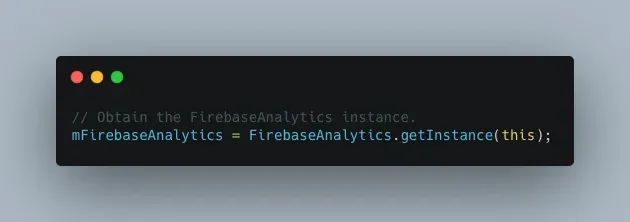
2.Declare the com.google.firebase.analytics. FirebaseAnalytics object at the top of your activity:
3.Initialize it in the onCreate() method:
4.Start logging events

Step 3 - Custom Tag Provider Class
1.Import your GTM container
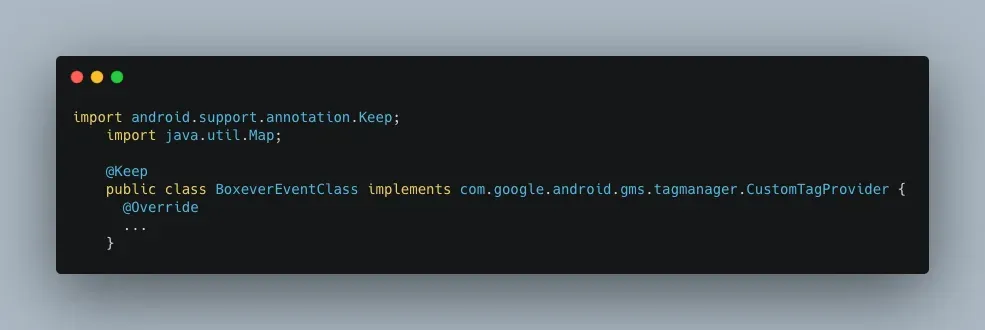
2.Implement a class that extends com.google.android.gms. tagmanager.CustomTagProvider. Please see an example below :
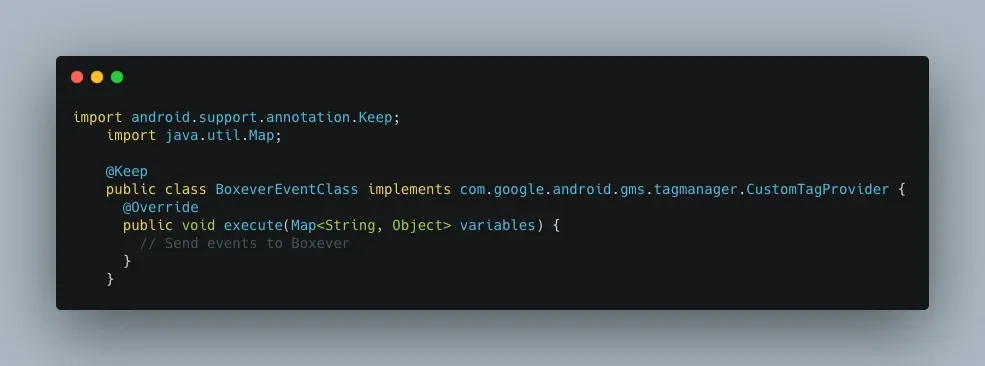
3.Within this custom class, use the following function below public abstract void execute (Map<String, Object> parameters)
4.Within this function, read the parameters passed by GTM within the "execute" function and send event to Boxever
Step 4 - GTM Tag Configuration
1.Create a new Tag under Tags section and provide a name
a.Click on Tag Configuration and under Tag type select Function Call.
b.Provide the created classpath under the Class path section

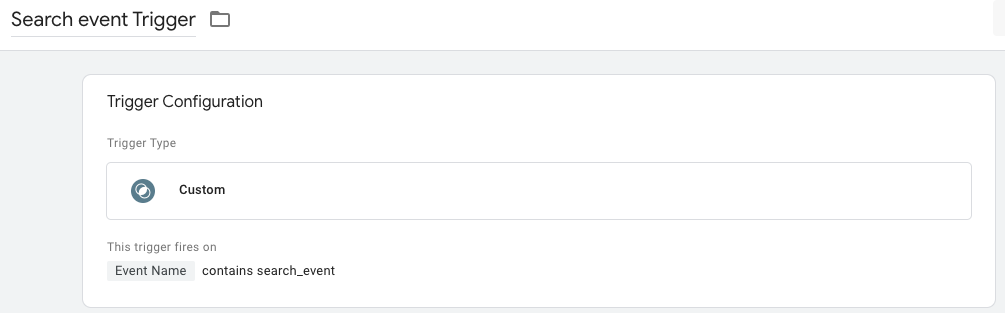
2.Click on Triggering section and choose your appropriate trigger on which this Tag should fire, in our case its search_event
Our goal was to send events in Boxever via moving them through Firebase tagging. With Google Tag Manager we were able to do that. We reused Firebase tagging while also avoiding duplicate work for Boxever events.
- Quick Links
- Homepage
- Projects
- About Us
- What we do
- Careers
- Services
- Product Dev
- MarTech
- Data Analytics
- Our Products
- TrakNeo
- pURL
- Breathe India
- Arivu
- LIFI